
Midi ring sizing: how to measure above the knuckle
For a midi ring, measure the exact position where the ring will sit above the finger’s middle joint. Do not subtract a fixed number from your usual ring size. Use a suitable physical sample to check security, bending and removal, then keep the wearing position in your saved record so it is not confused with the base of the finger.

Midi rings are worn higher on a finger than a conventional ring at the base. They are also called knuckle rings, which can be confusing when another article uses “knuckle sizing” to mean getting an ordinary band over a prominent joint. Here, the subject is a ring intended to remain above the middle joint, not an ordinary ring that has become stuck there.
The wearing position is the reason to take a separate measurement. Your usual ring-finger number describes another location. Even a carefully measured base size cannot tell you how securely a small band will sit farther along that finger. Start with the position you actually want rather than a chart promising to subtract two or three sizes for everyone.
Mark the position before you measure
Choose the hand, finger and resting position. Look at how that part of the finger changes when you straighten and gently bend it. Decide whether the ring is intended to sit comfortably between joints rather than across a moving crease. A product photo can show the general idea, but it cannot mark the right position on your hand.
A James Avery ring collection page identifies midi rings alongside thumb rings as a separate styling option. That distinction is useful vocabulary when shopping. It does not supply a universal conversion from a conventional finger-ring size, and a retailer’s label alone does not demonstrate a secure fit on you.
Write “right middle finger, above middle joint”, for example, before adding any number. This small step prevents a later mix-up with the same finger’s base. Our ring-size-by-finger guide covers ordinary finger positions; a midi record needs the additional location within the chosen finger.
Use a circumference estimate to choose samples, not the final answer
A narrow non-stretch strip and a physical ruler can help record the approximate circumference at the intended position. Keep the strip flat without pulling it into the skin. Mark where the ends meet, remove it and read the length. Repeat independently rather than tightening the same loop until it returns the number you expected.
Retain the measurement as an estimate with the method beside it. A flexible strip can bend and open in ways a rigid ring cannot. It also does not show whether a band will travel toward the fingertip during ordinary movement. Use the reading to ask for appropriate physical samples, not to skip that check.
The finger-measurement instructions explain the paper method and its limitations. If the product is unusually shaped, open or broad for its position, ask the maker how it should be fitted. Do not enter a distorted opening into a circular-diameter calculator and expect the output to settle the question.
Why a base-ring conversion is unreliable
There is no single taper shared by every finger. Two people with the same base circumference can have different proportions above the joint. Even neighbouring fingers on one hand need their own checks. A fixed subtraction treats those anatomical differences as though they were standard steps between size labels.
Consider an illustrative record: a person knows a base-ring size but has never tried a midi ring on that finger. The base record remains useful for its original location. The new record should begin with the intended position, an actual estimate and a sample trial, not a derived number presented as a new measurement.
The same caution applies to averages advertised as “standard midi size”. A stock size tells you what a seller makes. It does not establish whether it will stay in place or permit comfortable movement. If your reading falls outside the seller’s options, ask about another design or supplier rather than forcing your finger to fit the available stock.
Test movement and security together
With a suitable sample, observe how it behaves as you gently open and close your hand. The goal is comfortable movement and a stable resting position, with straightforward removal. A ring that only looks secure while your hand is held still has not completed that check. Do not try to prevent slipping by accepting painful pressure.
Tell the seller if it moves toward the fingertip, presses into a crease or catches on an adjacent finger. Describe the movement rather than asking for the next smaller number as the only solution. A different width, shape or wearing position may be part of the discussion. The general fit guide explains why both tightness and looseness matter.
This is an ordinary jewellery-fitting exercise, not medical advice. Stop if there is pain, numbness, skin colour change or difficult removal. Do not keep testing a tight sample to see whether the finger will adapt. If removal is not gentle and straightforward, get appropriate help rather than attempting a forceful sizing experiment.
Is an adjustable midi ring an easier choice?
An open design can offer flexibility only if the maker intends it to adjust. Some gaps are part of the design, and repeated bending can introduce another problem. Ask what adjustment is permitted, who should perform it and whether the finished setting or plating limits the change. Do not assume the ring is elastic because it is small or has an opening.
Check the ends as well as the apparent circumference. They should not pinch, catch or leave a sharp contact point during normal movement. A comfortable position when the hand is open does not settle what happens when it bends. Our adjustable-ring guide looks at those construction questions in more depth.
For an online purchase, request the usable size range and exchange instructions for that specific item. “Adjustable” without a stated range or explanation leaves the important part unanswered. Preserve that answer with the product reference instead of relying on a generic description that might apply to several visually similar rings.
Keep a separate midi-ring record
A practical record contains the hand, finger, wearing position, raw estimate, method and sample details. Add notes about slipping and bending, not just whether the ring went on. If you later move it to a different finger, create a new fitting note rather than renaming the old result and losing the history of what was actually tried.
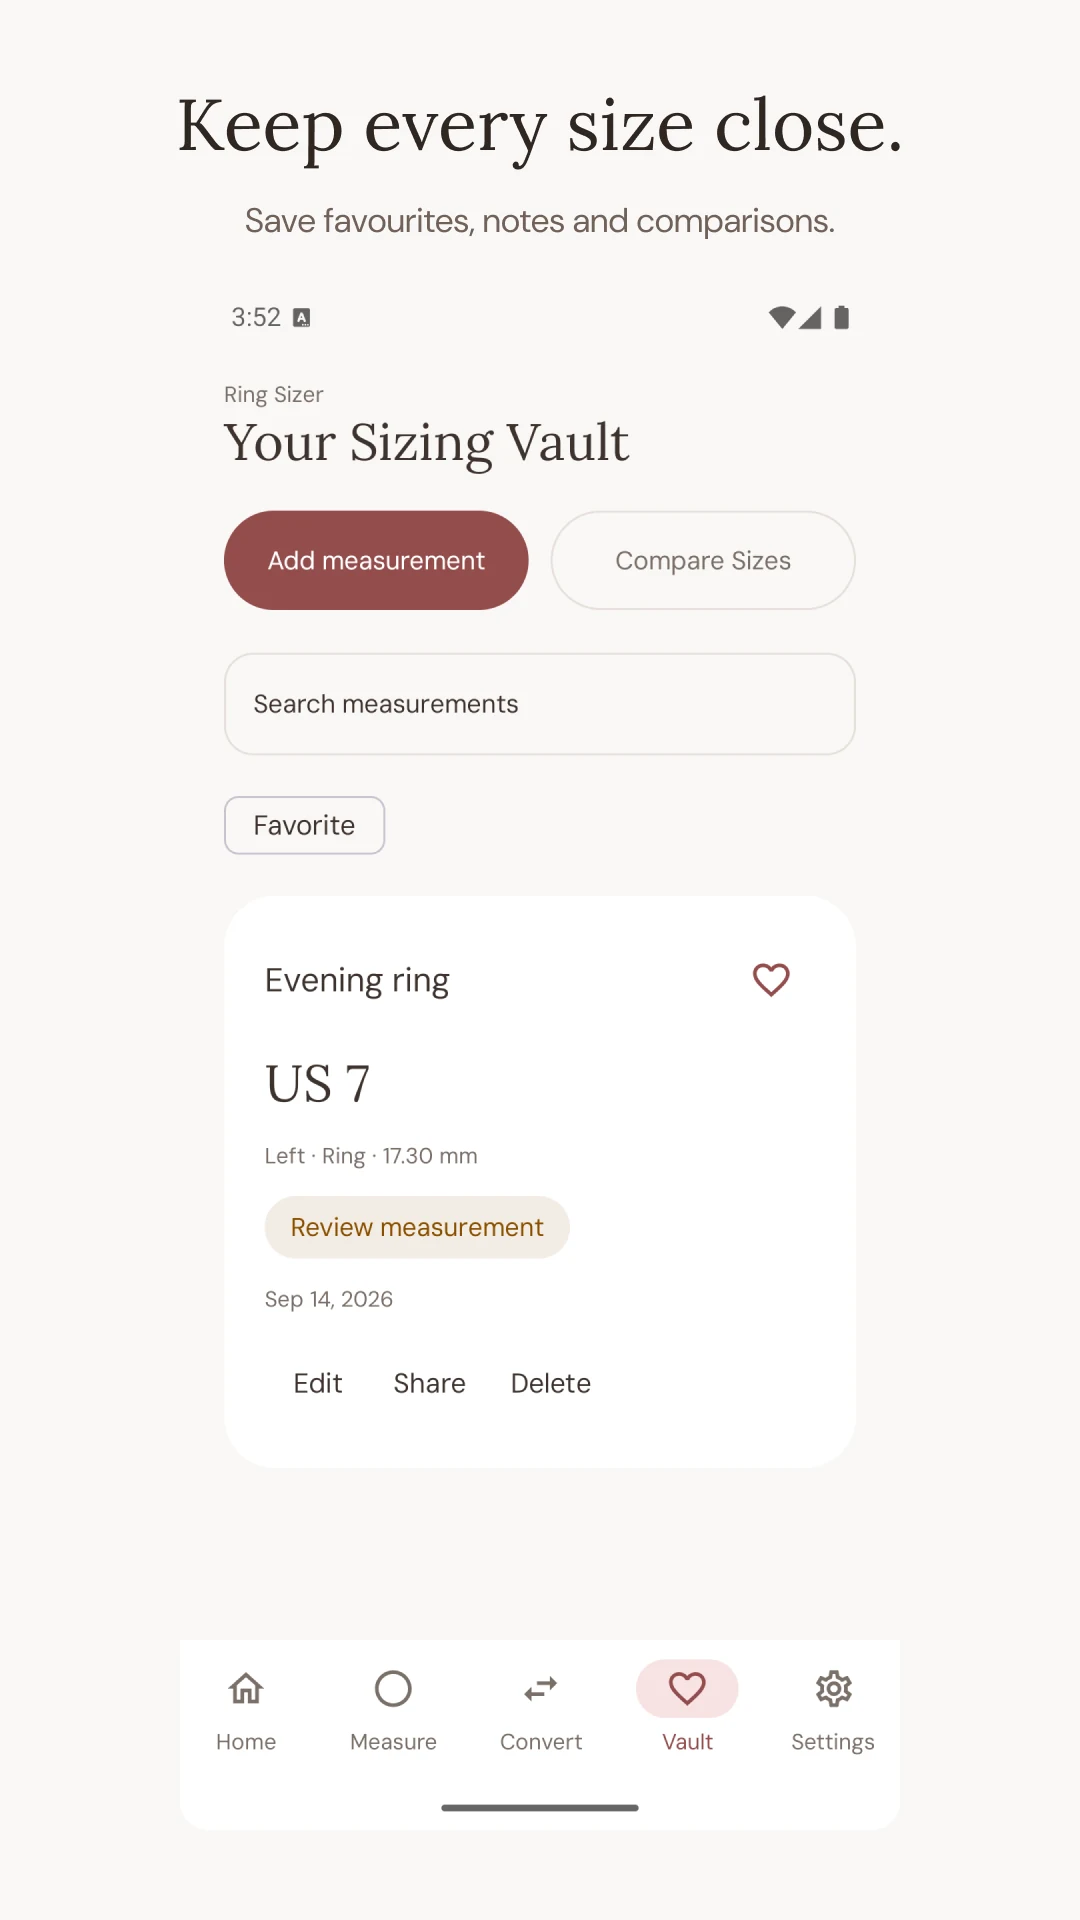
Ring Sizer can help retain measurements with notes, as described in the Android store listing. Use the notes for the above-joint position if the version you use does not offer a dedicated midi category. A saved conventional size label alone does not preserve that distinction.
Official Google Play screenshots, captured in English on Android. These images are not a calibrated measuring surface. App versions and reference charts may round size labels differently; keep your raw millimetre measurement and check the seller’s chart.
Before ordering, you should be able to explain where the ring belongs, how the sample moved and how it came off. If those answers are unclear, another stock-size conversion will not replace the missing fitting information. Keep the measurement as a starting point and ask the maker to help resolve the actual wearing problem.